Van Building Step 1: Decide on Everything
When I first bought my van, I thought building it out would be fun and simple – slowly chipping away at the build by taking on and accomplishing one project at a time.
This is not the reality of a van build.
Sure, if you’ve done van builds before and/or are a professional upfitter, this can be the way things go. But if you, like me, are coming into a van build with zero experience with van builds (or building things in general), your road will be longer and more complicated.
It turns out the internet can lie to you (but also be incredibly helpful). What’s the first step in building a van? Figuring out the entire build’s vision from start to finish. And yes, this can begin before you purchase the vehicle.
Here’s the overwhelming reality of step one of a van build.

It Seems Simple
When researching a van build, you’ll quickly discover the process can be (seemingly) neatly organized into a few distinct stages. These include – but are not limited to – sound deadening, insulation, walls, floor, ceiling, electrical, plumbing, and cabinetry.
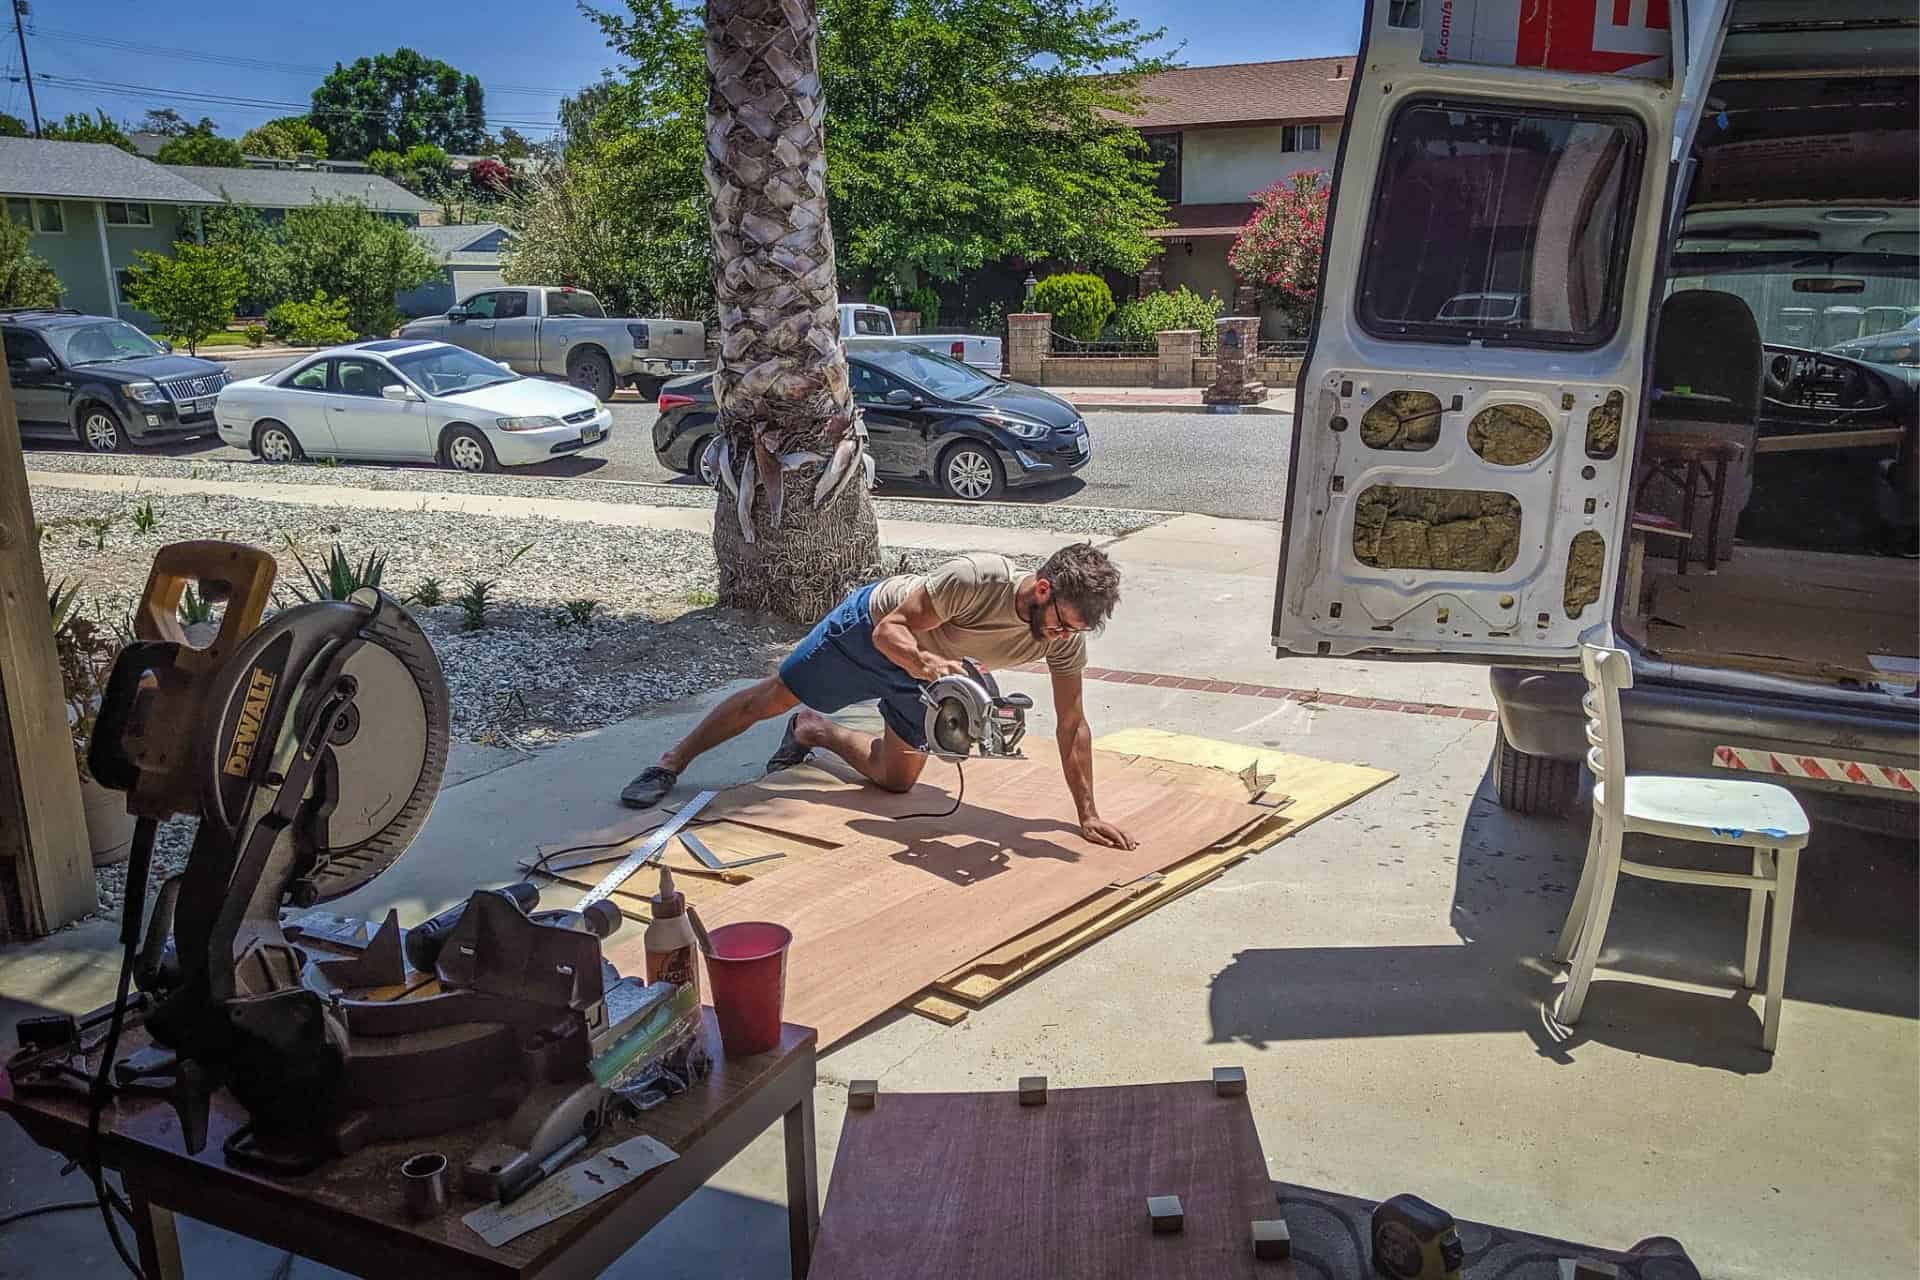
As a van build can be overwhelming when viewed as a whole, it can be helpful to break these down into chunks and focus on one piece of the build at a time. If this is your first van build, you may want to pick something seemingly easy as your first task to focus on – like sound deadening and insulation.
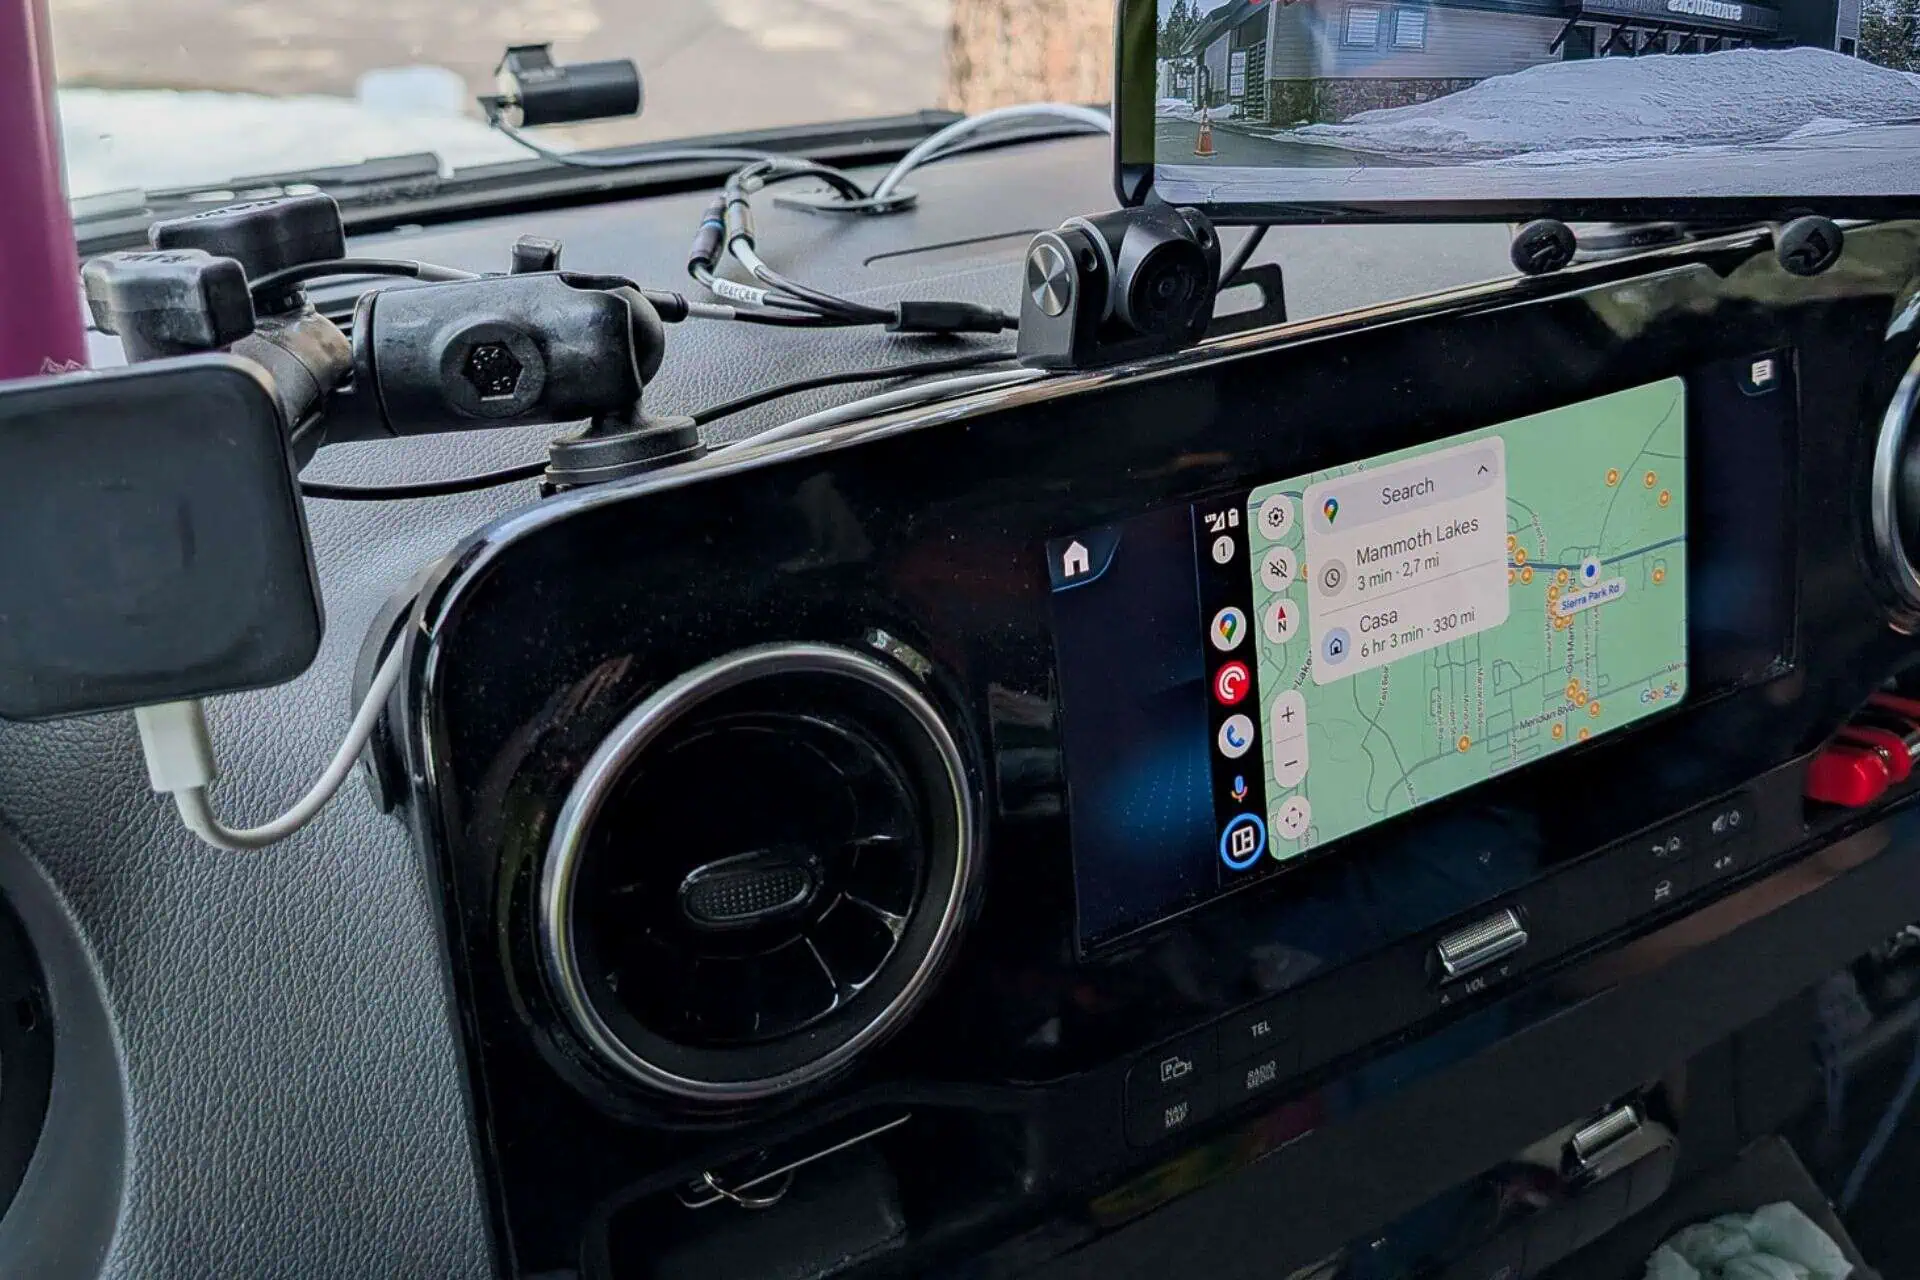
Rolling pieces of sound deadener onto the van’s sheet metal interior and stuffing insulation into van cavities can seem like a more accessible task than wiring a Victron Energy MultiPlus-II 2x 120V Inverter, for example.
Then, to distract yourself from the overwhelming complexity of van electrical systems and the pros and cons of a 12-volt versus a 24-volt electrical system, you instead spend twenty hours researching insulation only to find yourself wondering why anyone would use anything other than 3M Thinsulate or Havelock Wool.
Finally, having decided what butyl film to use to cover your interior panels and what materials to stuff into your walls, you decide to get to work.
Except not so fast.

It’s All Connected
I didn’t realize when I began my van build that everything is connected – even more so than I had imagined.
At least, this is the case when you attempt to do yourself favors in the future.
Back to sound deadening and insulation as an example. It may initially seem simple – stick the sound deadening onto your bare sheet metal and then put your insulation into the van cavities.
But before I insulate, I probably want to have the exterior wires from the van run so that I don’t have to remove or work around insulation bats later in the build.
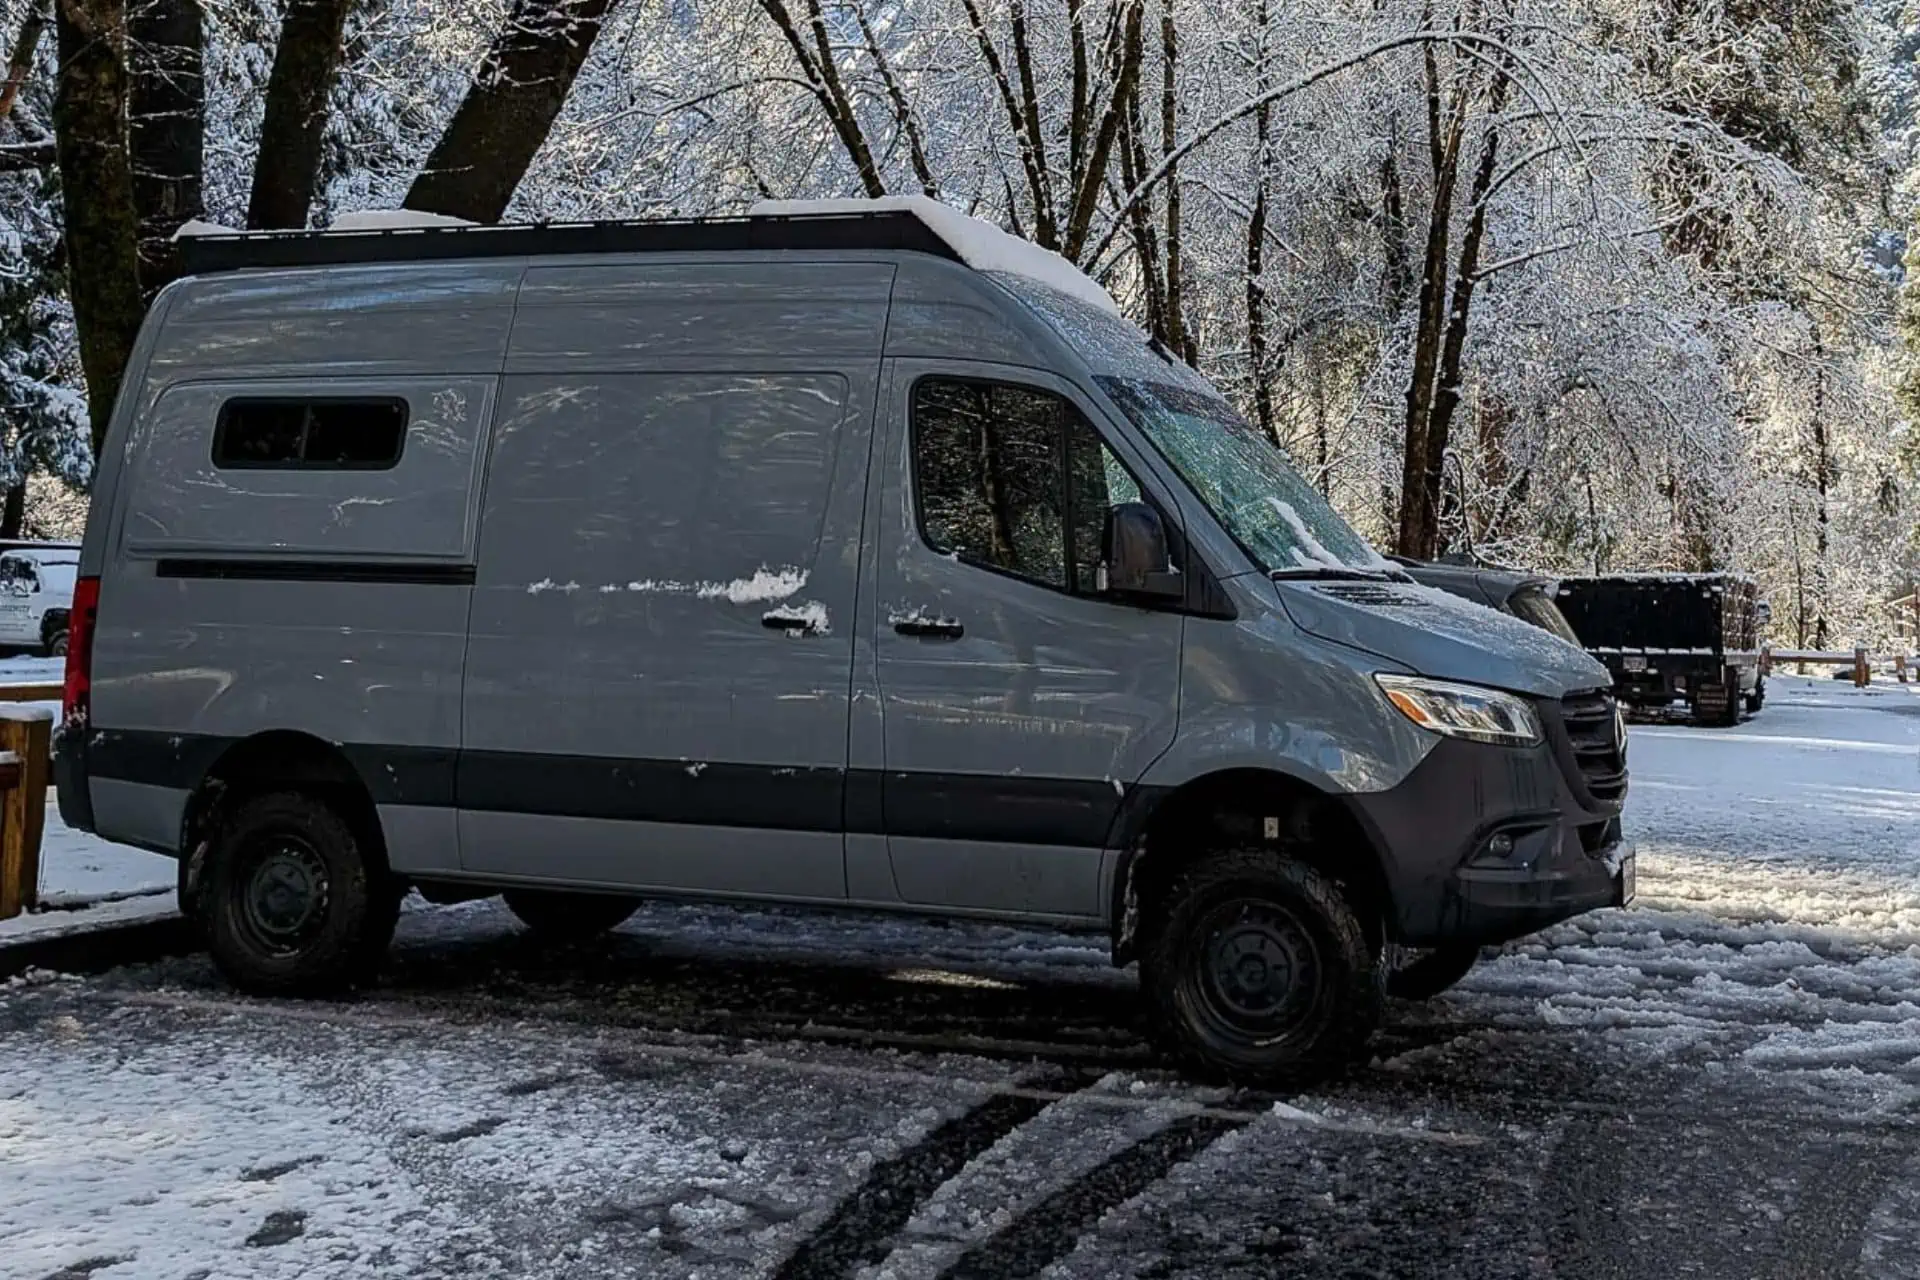
For my van, just one of the things this means is that I want to have my solar panels mounted so their cables can be run to where I’ll have my solar charge controller. And to have the solar panels mounted, I need to install my roof rack.
And before I install my roof rack, I probably want to have my fan and air conditioner installed. And before I install my air conditioner, I should figure out whether I will have a 12V or 24V battery bank to buy the corresponding unit.
So yeah, I have a lot to figure out before I put in the insulation.

It’s Not That Bad
One of the things I’ve learned during this process is that you can’t look at the “finishing the van build” timeline. This is difficult because the one thing everyone wants to know (or at least the one question everyone will ask you) is, “When are you going to be done with the build?”
But I’ve learned this lesson from thru-hiking. When you begin a 2,600-mi / 4,200-km hike across the country, you can’t think about when you’re going to get to the end. Breaking the hike into small chunks makes the entire thing much more manageable. Instead of thinking about the end, think about the next resupply/town stop, the campsite, the next water source, or even the next step.
Staring into an empty cargo van and thinking about the end is not a healthy exercise.
Yes, it would behoove you to plan the build first so that you don’t have to undo/redo half your build because you’ve decided to change something halfway through, but once you have your plan in place, you need not worry about the end.
The end will always be there waiting for you, and many times (from what I’ve seen), vans end up being an “always in progress” kind of thing. After living out of your van for a bit or having taken it on a few trips, there will likely be things you want to change, upgrade, or tweak. And that’s okay.
You never have to plant a flag and say, “My van build is finished.” There’s no point at which you can no longer make changes to your van (unless you sell it).
Remember that you’re (hopefully) choosing to do this instead of buying a prebuilt van. If your build goes anything like mine has been going, you’re going to waste money on parts you don’t end up needing, you’re going to take a lot longer to do things you thought would be easy, and you’re going to need to make a lot of extra trips to your local hardware store.
Enjoy the process, measure six times, and learn as much as you can along the way.