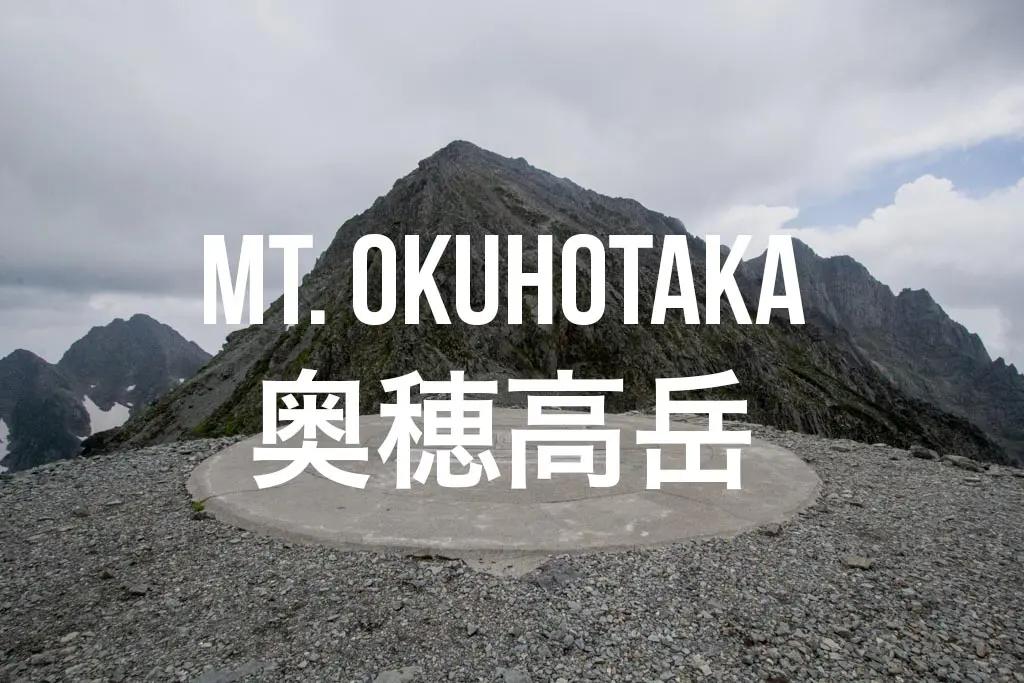
Hiking Okuhotakadake (奥穂高岳) in Japan
Mount Okuhotaka (奥穂高岳, Okuhotakadake) is the third highest peak in Japan behind Mount Fuji (富士山, Fujisan) and Mount Kita (北岳, Kitadake).
Okuhotakadake, located in the Kita Alps, stands at one end of the famed Nishihotakadake (西穂高岳) – Okuhotakadake traverse (according to the internets this traverse may be the “most difficult hike in Japan” – read my account of the traverse here).
The more popular approach to the summit starts from Kamikōchi (上高地), on the eastern side of the range. Sadly, no private cars are allowed on the roads leading there; I instead chose to make my approach from Shinhodaka Onsen (新穂高温泉) in the west.
*Note: The round-trip time listed above is based on my own experience. Please remember that your time may vary greatly.

Okuhotakadake Overview
- Name: Mount Okuhotaka
- Japanese name: 奥穂高岳 (Okuhotakadake)
- Location: Kita Alps (北アルプス)
- Summit elevation: 10,470 ft / 3,190 m
- Elevation change: 6,627 ft / 2,020 m
- Round-trip distance from trailhead: 12.8 mi / 20.6 km
- Round-trip time from trailhead*: 10 hours
- Difficulty: Strenuous
- Water on trail: No, but available at Okuhotakadake Lodge (seasonal)
- Trailhead facilities: Parking, bathroom, lodge, drinks, food
- Nihon Hyaku-meizan: Yes
Getting to Okuhotakadake
You can reach Okuhotakadake a number of ways, but the most direct access is from Shinhotaka Onsen (新穂高温泉) or Kamikōchi. The directions described here are from Shinhotaka Onsen because private cars are not allowed through to Kamikōchi (you need to take a bus). For more information on Komikochi, you can check out their (English language) website here.
- Accessible via public transportation: Yes
- Trailhead parking: Yes
- Trailhead coordinates: 36.286281, 137.575869
- Summit coordinates: 36.289166, 137.648055
BY CAR: Via car, the base of Okuhotakadake can be easily reached. There is a free parking lot for hikers at the Ryokan Shinhotaka Okuhida (map). From here you will need to walk up the road, past the entrance to the ropeway, and then past the parking lot at the top of the hill to officially begin the hike (signage and maps provided at the lodge).
BY TRAIN: Sorry, no train station near the trailhead.
BY BUS: First get yourself to Takayama Station (高山駅) in Gifu (it’s a train station). From there, take the bus bound for Shinhotaka Onsen to the last stop. It takes about an hour and a half, and the first bus departs Takayama Station at 7:00.
If you’re farther north, you can also take a bus from Matsumoto Station (松本駅) in Nagano.
The Hike
From the parking lot at Ryokan Shinhotaka Okuhida, follow the road up to the right of the mountain information center and then past the Shinhotaka Ropeway to where the road is chained off to private traffic.
The trail continues along the road and dips up through the hillside vegetation a couple of times before passing a building that is either a hut, abandoned shelter, or a police checkpoint that you’re required to check in at – I’ve never stopped to find out. Continue straight and wind up the now gravely, unpaved, and surprisingly wide forest road.

A half hour or so after the building you pass you will reach the official entrance to the Okuhotakadake trail. If you continue another couple of minutes past this (following the forest road) you will find a piped water source – the only water available until the hut just below the summit.
Ready to start your trip skyward?
Hang a right at the sign and get ready to climb.

You will spend the rest of your day slowly following the trail as it climbs up the valley and then turns into a steep and rocky chute until the summit.
The trail up through the boulder field is marked with yellow and white Xs and Os. It may not always be obvious, but just know that the way is up; you don’t have many options anyway.

The Summit
Just below the summit of Okuhotakadake, you will find the Hotakadake-sansō (穂高岳山荘), or the Hotakadake Lodge (website, Japanese only).
This happens to be the place I found myself “interviewed” by a Japanese newspaper journalist from Nagano. Perhaps you will find similar fortune.
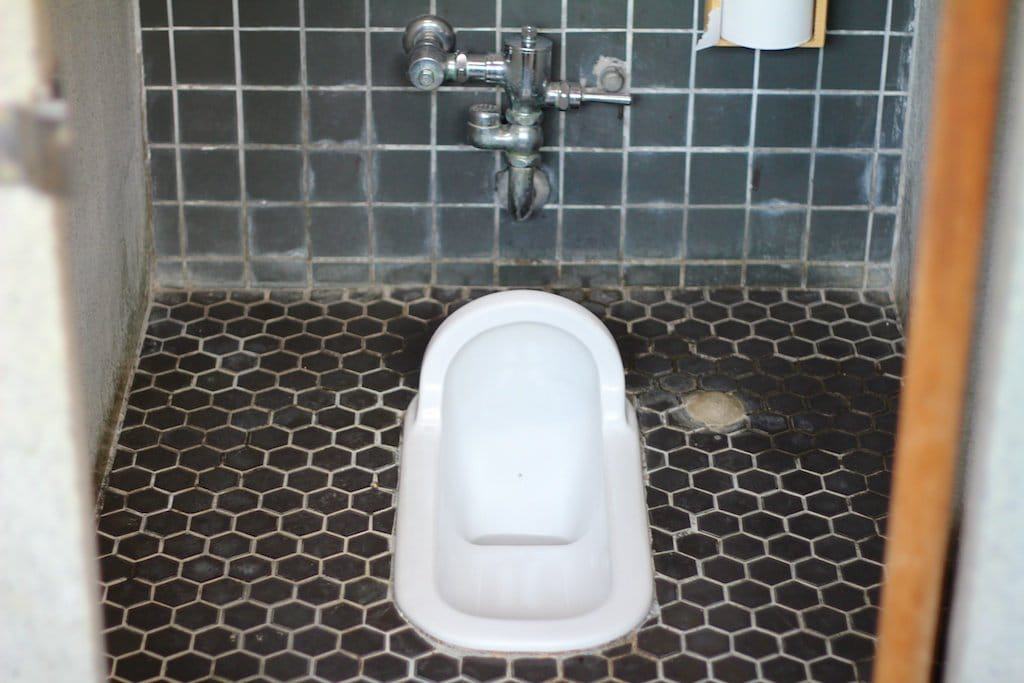
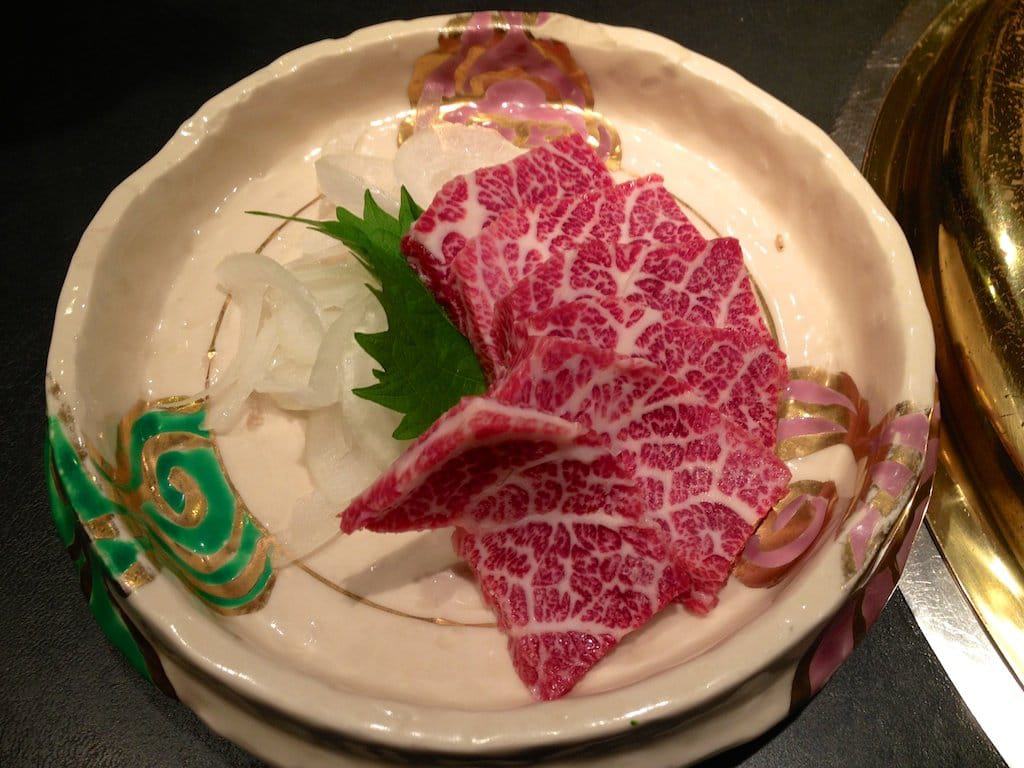
The lodge has plenty of expensive supplies, rooms, potable water, bathrooms, and about twenty campsites cut into the slope just north. If you want a campsite it will set you back ¥1,000.

About half an hour of climbing past the lodge will get you to the summit of Okuhotakadake.
The highest point of the summit features a shrine atop a large pile of rocks. These rocks were apparently stacked up here to give Okuhotakadake the bump it needed to surpass the 10,463 ft / 3,189 m Mount Aino (that’s 3 ft / 1 m shorter than Okuhotakadake if you haven’t been paying attention.
Camping at the lodge and hitting the summit in the morning is a nice way to break this hike into two days, but if you could make it to the summit and back in one if you’re up for a long day of hiking (and a lot of elevation change).

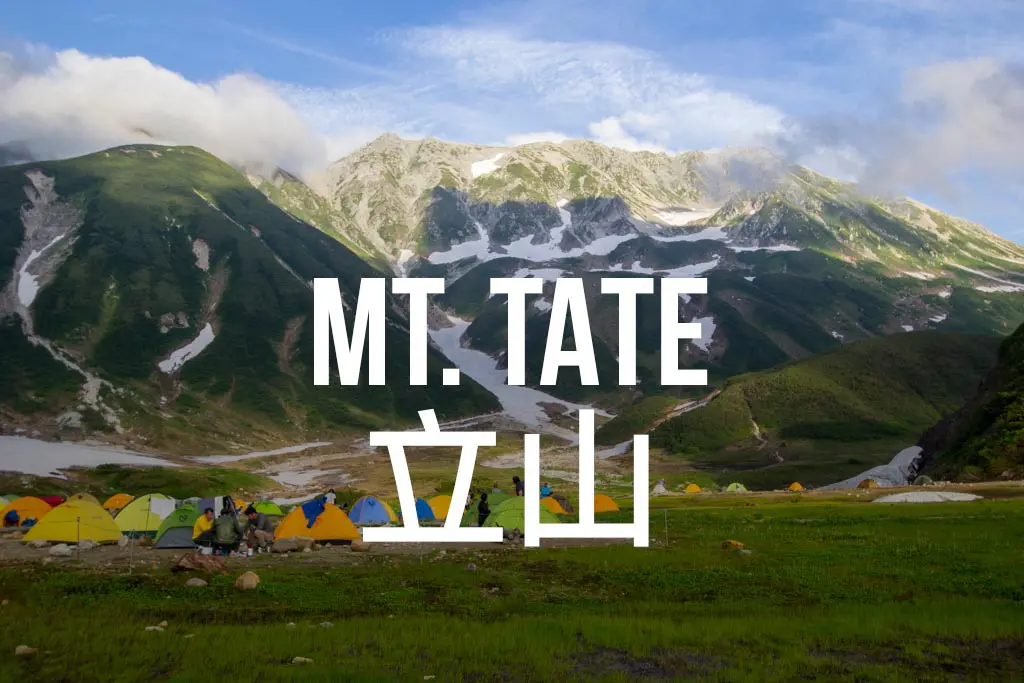
From the summit you can either continue south and attempt the Nishihotakadake (西穂高岳) – Okuhotakadake traverse (you will probably need the better part of a day to complete this), head north across Kitahotakadake (北穂高岳) and the Daikiretto (大キレット) towards Yarigatake, head back the way you came or head down the eastern side of the mountain (from the lodge) towards Kamikōchi.
Map of Okuhotakedake
The following was the route my GPS recorded on my hike up Okuhotakadake.
I have no guarantee that this route is correct, nor that it can be accurately relied upon for backcountry navigation. It should serve only as a general guideline for what the trail is expected to look like.
Conclusion
To be honest, the trail up to Okuhotakadake described here is not particularly exciting, and the endless bounder field is not something that I am excited about getting back to soon.
However, being the third highest mountain in Japan, Okuhotakadake must be climbed (and it is a lot better of a climb than Fuji). The Hotaka ridgeline has some of the most exciting routes in the Kita Alps, and there are dozens of trails and peaks in the surrounding mountains to keep hikers busy for days or even weeks.
Have any questions about Okuhotakadake? Want another post about another one of Japan’s mountains? Have a suggestion to improve this information?
Leave a comment and let me know!


Hi Mac, I’m glad I found your blog! I’m thinking of up and back on the east side from Kamikochi. I want to tent at the okuhotaka sanso. Looking at the west side, the gendarme (and the daikiretto, too) are kind of scary for my first time in the northern alps. Any thoughts? That side seems more realistic for my first foray up there. Thoughts? Helmet i s a necessity?
Thanks
Definitely don’t attempt Gendarme or Daikiretto if you’re uncomfortable with exposure and/or using your hands. These are not “trails” in the traditional sense and require a fair amount of scrambling. I have never taken a helmet on these routes but many people do.
Thanks!
I think you mean “don’t attempt”, right? I think since this is my first time to the area, I’ll go up the eastern side. Maybe after a closer look, I might entertain that western side . . . but I’m not above admitting my limits. ;-) Thanks, again.
Correct :) “don’t attempt” – fixed!
great post Mac. Is it dangerous from the hut to the summit? I am thinking 4 days 3 nights like this : 1 night in Tokusawa, 1 Karasawa hutte, and 1 Hatokadake. Will the last day down all the way is too much?
Personally, I wouldn’t call from the hut to the summit isn’t dangerous. For me, the last day down would be fine – hopefully that helps!
Thanks for sharing your experiences, it’s tough finding Japanese adventure resources in English. I’m scheduling 4 days in the Alps as part of my honeymoon, and we won’t have a car. Is Shin Hotaka Onsen a good jumping off point for many hikes or would you recommend another place?
It’s a great starting point for a TON of hikes in the Kita Alps. Would definitely recommend you consider starting there.