
Hiking Mount Bunagatake (武奈ヶ岳) in Japan
- Name: Mount Bunagatake
- Japanese name: 武奈ヶ岳 (Bunagatake)
- Location: Ōtsu, Shiga (滋賀県大津市)
- Summit elevation: 3,984 ft / 1,214.4 m
- Elevation change: 2,394 ft / 730 m
- Round-trip distance from trailhead: 7.86 mi / 12.65 km
- Round-trip time from trailhead*: 5:38 moving time / 6:56 total time
- Difficulty: Moderate
- Water on trail: Yes
- Trailhead facilities: Parking, bathroom, running water, shop, vending machine
- Nihon Hyaku-meizan: No
Mount Bunagatake (武奈ヶ岳, Bunagatake) is a day hike in Shiga Prefecture (滋賀県) and is the highest peak in the Hira Mountains (比良山地). This peak is connected to a network of trails so you could easily turn this into a multi-day adventure.
The summit can be approached a number of ways (so you need not follow my route below) and there is a lot to see no matter which way you choose (but my route has some sweet waterfalls, so it’s the best).
Bunagatake is one of the 200 Famous Mountains in Japan (because why just have a list of Japan’s 100 Famous Mountains?) and one of the Kinki 100 Mountains (oh Japan, you and your lists).
*Note: The round-trip time listed above is based on my own experience. Please remember that your time may vary greatly.
Getting to Mount Bunagatake
- Region: Kansai (関西地方)
- Accessible via public transportation: Yes
- Trailhead parking: Yes
- Trailhead coordinates: 35.273813, 135.926244
- Summit coordinates: 35.264572, 135.896962
NOTE: the information here reflects my experience at one of at least two trailheads (there may be more than two). This trailhead (which can be difficult to reach via public transportation) is not the only way to make it to the summit of Mount Bunagatake.
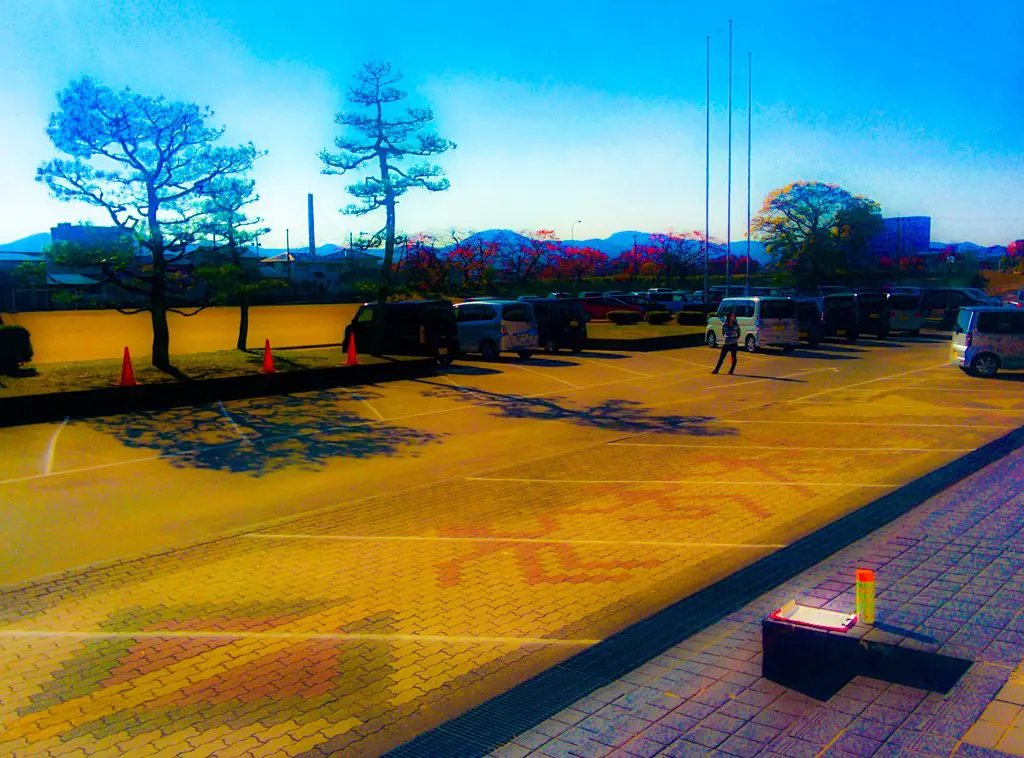
BY CAR: By car, the trailhead is fairly easy to reach and thankfully isn’t too far out-of-the-way. From Route 296 in Shiga, you will turn off south towards Gulliver’s Youth Travel Village (ガリバー青少年旅行村). You can follow signs for the village’s entrance (or your handy GPS) which you should reach not long after turning off the main road. When you come to the bottom, there may be a man wanting you to pay for parking; whether you pay this man or tell him you “just want to take a look up the road”, don’t park here – park farther up because it’s still a short (uphill) drive to the trailhead (and there’s more parking up ahead).
BY TRAIN AND BUS: A bus runs to Gulliver’s Village (ガリバー青少年旅行村) via the JR Kosei Line (湖西線) from Omiimazu Station (近江今津駅) in Takashima (高島市). The bus runs only Saturdays, Sundays, holidays, and during the summer holidays (mid-July through the end of August). The bus runs every 25 minutes and costs ¥220 one-way. The earliest bus leaves the station at 9:04. I am not 100% sure when the last bus back to the station is, so perhaps best to call before depending on public transport.
Here’s the website for Gulliver’s Village (Japanese only): Gulliver’s Youth Travel Village.

The Hike
The trail begins at the parking lot of Gulliver’s Village (ガリバー青少年旅行村) and follows a service road for about 10 minutes before reaching the actual trailhead. There are a few “courses” marked out around this lower area (labeled A-D) that you can also explore if you are up to it (I was not, so I have nothing to report).

At the trailhead, I spot my first Japanese hornet and can confirm: they are massive (and apparently capable of killing humans) – so beware (and please don’t die).
The beginning of the trail climbs gently (and detours around a few washouts) to a small pool and waterfall where you have the option of continuing right towards the more trodden route up to Mount Bunagatake, or left up through what I will call the “crazy waterfall obstacle course” (that is described in detail further down).
You can reach the summit via said obstacle course, but you will need to pay close attention to the signs (and should probably read about the trail below before attempting it).

Following the signs for Mount Bunagatake (武奈ヶ岳) and the red tape on the trees (which I believe marks the Bunagatake trail, but don’t trust me on that), is relatively straightforward and the first quarter of the hike’s trail is relatively easy to follow.
The trail climbs, sometimes steeply, as it follows a stream up through the valley for around twenty minutes before cresting a ridge where you will make a right and follow the trail down to meet the stream feeding the waterfall you saw below (not 100% sure where the left will take you, but I think down to the northern end of the aforementioned obstacle course).
After reaching and following the stream, the trail passes two shelters (I don’t know if these are accessible or what their purposes are) and a few more junctions (remember, 武奈ヶ岳).

When you see the second shelter on the other side of the stream (which looks really nice and is maybe just someone’s house?) the trail enters a flat, marshy area.
Fortunately for you, a log path has been laid in the ground to keep you from getting mud all over your fancy hiking boots (because if you’re a Japanese hiker, then chances are you’ve spent several hundred dollars on the shoes you’re wearing).
The trail hits one more junction before heading left and uphill for a final half-hour of climbing before the summit (that is if you’ve followed the route described here up until now).

You’ll climb a narrow chute and make it to one last junction where you’ll need to turn left once more (unless you’re not aiming for Bunagatake).
There’s a false summit before reaching the true top of Bunagatake not far beyond (in good weather it may not be a false summit, but it sure is in the clouds).
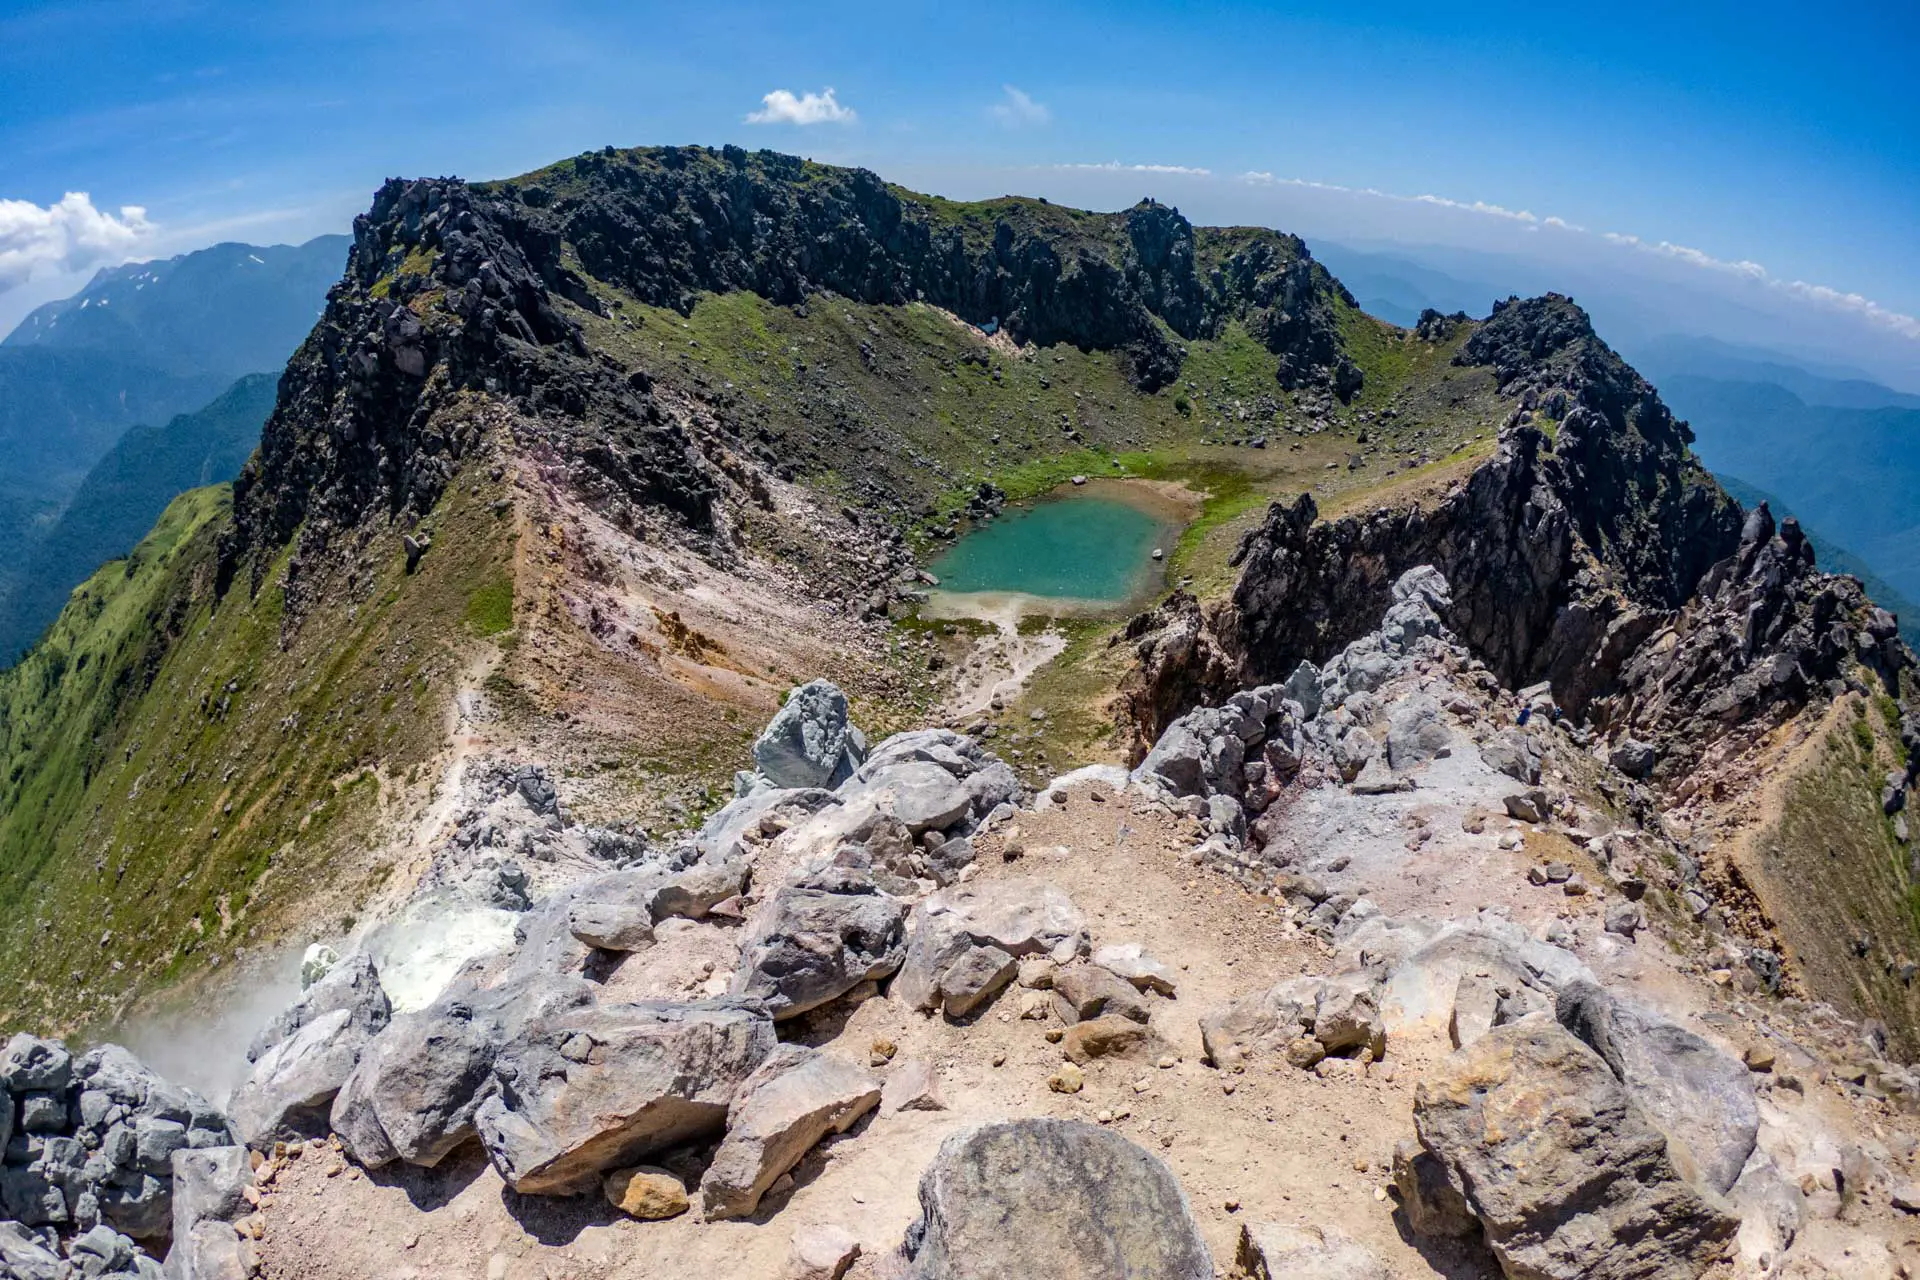
The Summit
The summit is a decently sized open area with (supposed) panoramic views of the surrounding area (and maybe even Lake Biwa).

You can return back the way you came, or descend the other side of the summit where you can find multiple trails leading to multiple trailheads.
One of these alternates (that leads back to Gulliver’s Village) is described below.
Alternate: Crazy Waterfall Obstacle Course
This entire area is a web of crisscrossing trails, and so on the way back, I decide that it will be more exciting to try my luck at descending the opposite side of the mountain. Some hikers said that it was possible to make it back down to Gulliver’s Village (ガリバー青少年旅行村) via this trail and so I decide to try my luck (although I could just be misunderstanding their Japanese/English).
I don’t really know which signs to follow, but I know that I need to keep left and on the northern and/or eastern slopes to avoid descending into a valley on the wrong side of the mountain. There aren’t many junctions in the first bit of hiking, but after about almost an hour of hiking the trail reaches a huge open space with trails leading off in every direction (a great-looking area for camping if you’re looking to spend the night).

I keep to my north-easterly course and follow a clear-cut slope north until it levels out and gives way to a plateau with views of Lake Biwa.
Following the trail to the left of the viewpoint, I dive back into the trees and quickly arrive at a (not so obvious) junction (but it is marked with a sign slightly off the main trail). Since the trail I’m on appears to be heading up to another peak, I take the junction left and follow this new trail down towards the valley I initially came up through.
This trail is long, steep, and overgrown – at times I am afraid it will simply run out and I’ll have to turn around or bushwhack my way down the slope (I really don’t like bushwhacking).

However, eventually it reaches the valley floor and the stream I followed on the way up. At this point I think I’ve made it back to the same trail I followed up the mountain, but I’m wrong.
The trail follows the stream, cutting through the mountains and eventually reaches another junction. Now, I can make a left to meet the trail from the way up (the junction says that left will take me back to Gulliver’s Village – ガリバー) or I can keep following the stream. I look at the map from the way up and see that I crossed this stream a bit further down – might as well keep with the stream and change up the scenery.
This alternate route, however, does not simply follow the stream down to another junction. The trail turns into a literal obstacle course of ropes and chains affixed to very steep and wet rocks (seriously, don’t go this way if you’re uncomfortable climbing over/down slippery rocks and trails).


The benefit of this route is that 1) I see no other people on the trail (although this means nobody to find me when I slip, fall, and smash my head open), and 2) I get some fantastic views of some waterfalls (and pass some good-looking swimming holes too).
This bit of trail is legitimately tricky to navigate (especially if it’s rained recently), so make sure you’re up to the challenge and have some good tread on those shoes (and don’t be afraid to turn around if things get too intense).

Eventually, I end up back at the first pool/waterfall I passed on the way up (the one you’ll pass after about a half-hour of hiking on the way up).
MAP OF MOUNT BUNAGATAKE
The following was the route my GPS recorded on my hike up Mount Bunagatake.
I have no guarantee that this route is correct, nor that it can be accurately relied upon for backcountry navigation. It should serve only as a general guideline for what the trail is expected to look like.
I have also included the elevation profile and my hike’s overall stats in the case that any of you find any of it useful (imperial on left, metric on right).
NOTE: My tracking app decided to stop in the middle of the hike so the information is not complete, but hopefully it still helps.


Conclusion
Mount Bunagatake is a nice hike with varied terrain and plenty of exploring to keep you busy (or hopelessly lost).
Whether or not you decide to take the crazy waterfall obstacle course route, there are lots of waterfalls and swimming holes to explore in the lower part of the trail.
The trailhead described here is a bit difficult to reach without your own transportation, and it’s the area around the trailhead where most of the swimming holes and waterfalls can be found.
Have any questions about Mount Bunagatake? Want another post about another one of Japan’s mountains? Have a suggestion to improve this information?
Leave a comment and let me know!


this looks SO fun! Nice not to see any pics of parking lots, too.
Should I be including more parking lots?
Excellent advice! For those using public transport, here’s some extra info from me:
Either take the 343 bus from Omitakashima (not Omi-Imazu, it doesn’t depart from here) to Gulliver Travel Village, or the 342 bus to nearby Shishisage-do, because they don’t stop at Gulliver. 343 buses only depart on holidays and there are only 2 per day.
On the way back, you should take the 342 bus from Shishisage-do. Your last buses to Omitakashima are 4:11pm, 5:23pm and 6:33pm.
Both of these journeys are ¥220 one way. All this info is in the (Japanese) bus timetable here: http://www.kojak.co.jp/uploads/hata.pdf
Thank you for the info, Joni!
What is the tracking app you use?
You actually hot linked how to poop in the bush? Who didn’t know?
I carry some paper when I walk – Thailand isn’t always accomodating.
You write some important things in amusing ways, like having good tread and turning around if advisable and defining a Day Hike. Good Grief, Mac.
I am using My Tracks from Google.
In coming posts I will be comparing this to the other apps out there, but so far this has been my favorite.
How my wife and her boy friends (swinging) know I’m not in the vicinity and play comfortably.