
Kings Canyon High Basin Route: Section 1
Section 1 of the Kings Canyon High Basin Route (KCHBR) begins at Twin Lakes Trailhead at Lodgepole in Sequoia National Park and ends where the route intersects Colby Pass Trail in Cloud Canyon.
After leaving Lodgepole via the Twin Lakes Trailhead (also known as the Silliman Pass South Trail), the KCHBR crosses a saddle southeast of Mount Silliman (which I will call Silliman Saddle for the purpose of this description), crosses the Kings-Kaweah Divide, skirts past Tableland Pass, and then goes over Pterodactyl Pass, Horn Col, and Copper Mine Pass before dropping into Cloud Canyon and intersecting the Colby Pass Trail.
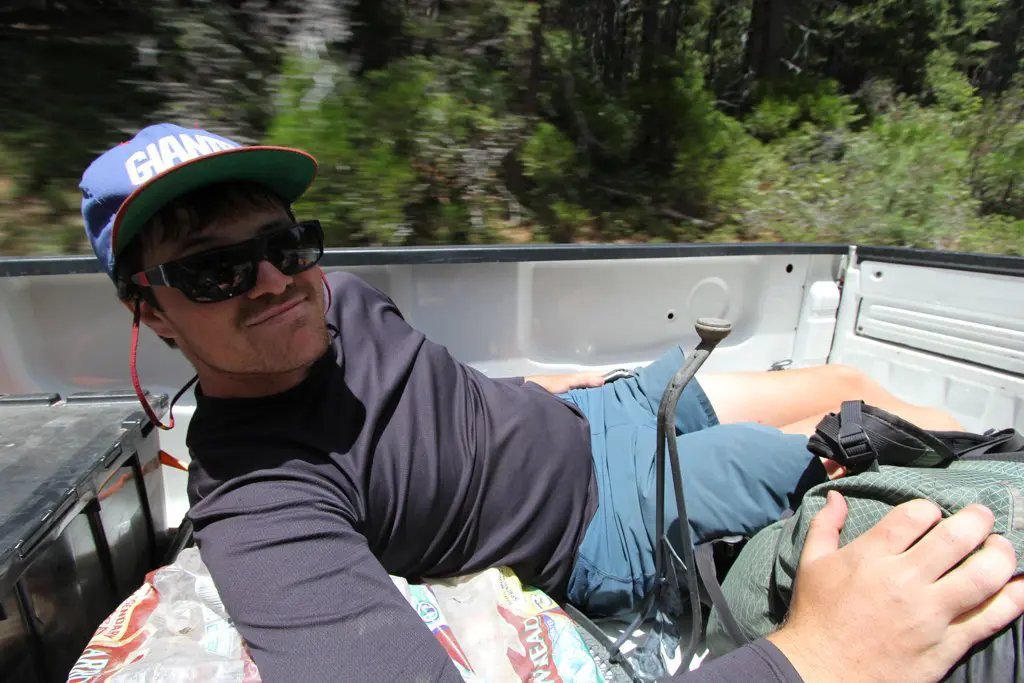
I was originally going to hike this route beginning at Roads End via Copper Creek and ending at Lodgepole, but I got my permit switched at the Lodgepole Backcountry Office as a walk-up. After having hiked the route, I am happy not to have started at Roads End, and I suggest that if you hike this route, you start at Lodgepole (but don’t let me stop you from doing what makes you happy if you prefer a Roads End/Copper Creek start).

KCHBR Section 1 Stats
- Start: Twin Lakes Trailhead (map)
- End: Colby Pass Trail (map)
- Length: ~20 mi / 32 km
- Elevation gain: ~8,514 ft / 2,595 m
- Elevation loss: ~6,257 ft / 1,907 m

Lodgepole (the start)
You can leave a car parked at Lodgepole (in this parking lot) for the duration of your hike. There are bear boxes available for any food or smelly items you may have in your vehicle that you do not want to bring with you.
The Twin Lakes Trailhead (map) is located just north of the Marble Fork Kaweah River before entering Lodgepole Campground. The first 2.1 mi / 3.4 km of the hike is on-trail hiking. You’ll turn off the trail at a sign that states “Twin Lakes 4.7 // Ranger Lake 6.0”.
You’ll follow a reasonably defined use trail, staying east of Silliman Creek before passing through Silliman Meadow and turning directly east. The route continues following Silliman Creek up, climbing slabs to the north shore of Silliman Lake. This lake is worthy of a hike or an overnighter itself if you’re looking for something quick.
We began our hike late in the day and ended up camping here. Excellent sunset and lake views.


Silliman Saddle
From Silliman Lake, continue climbing toward the tarn immediately south of Mount Silliman. From here, you can see the saddle (Silliman Saddle?) you’ll be heading over. It’s southeast of the tarn and is not as steep as it looks, but will probably require the use of your hands to get up. We were able to work our way up the right side of the saddle, avoiding the lingering snow directly beneath it.
We dropped from the saddle to around 10,700 ft / 3,260 m before contouring east. We stayed close to the divide and descended to another saddle at around 10,300 ft / 3,140 m. From here, we stayed high, but the smarter move would have been to drop down to the more mellow and less brush-filled terrain to intersect Horse Creek between 10,000 ft and 10,200 ft (3,050 and 3,110 m) before following it up to a tarn (with a unique, infinity-pool-esque view looking southwest).


The route continues northeast from the tarn before crossing the divide on a mellow slope. You then continue east before getting fantastic views north down the East Fork Sugarloaf Creek. Continue up a gentle slope and regain the divide before crossing it again to the south.
For the next 2.5 mi / 4 km, stick to the path of least resistance, following the divide toward Tableland Pass. There are plenty of tarns throughout here if you’re short on water, and there are larger lakes and lower camping a few hundred feet below if everything up top is dry or you’re looking to camp below the ridge. We didn’t have too much trouble through here and it was mostly easy and scenic walking.
We encountered a wicked windstorm through this section and were happy to have our shells and wind pants.


Tableland Pass
The ridge heads southeast before turning south at Tableland Pass. There’s really no reason to gain the pass itself if you’re going to pass to the west below it (heading south)). Views from the pass aren’t anything different than what you’ve seen and aren’t particularly spectacular. However, there is a large tarn just east of the pass if that interests you at all.
Continue south to a high point at around 11,300 ft / 3,444 m from where you get your first glimpse of Pterodactyl Pass to the south. It’s not particularly pronounced, but it becomes clear once you get closer if you can’t spot it from here. You’ll need to drop around 400 ft / 122 m and contour south to the pass, located at approximately 10,900 ft / 3,322 m. It’s the first named pass of the route that you’ll be crossing and it’s a relatively easy one (the climb up to Silliman Saddle is more of an effort than the hike over Pterodactyl Pass from this direction).


Pterodactyl Pass
As noted above, Pterodactyl Pass from the north isn’t particularly difficult. You essentially drop down to it after leaving Tableland Pass.
The other side of Pterodactyl Pass is steeper but manageable hiking. You can see your next destination, Horn Col, to the east. Drop down from the pass and contour as soon as you can manage – whatever elevation you lose here you’ll immediately have to regain as you climb up to Horn Col.
We ended up contouring around 10,600 ft / 3,230 m, but do whatever makes you happy; that’s one of the joys of being off-trail. Continue heading toward Horn Col (evident by the large slabs immediately below and left of the steep and pronounced peak that I’m assuming is the “horn” although it isn’t labeled on any map I have).
Below you are Lone Pine Creek and the Elizabeth Pass Trail. If you wanted to, you could loop back to Lodgepole here via the Elizabeth Pass Trail to the Over The Hill Trail to the High Sierra Trail. You would not technically be allowed to be on the High Sierra Trail through this section, but it’s an option if you have some sort of emergency and need to get out of the backcountry.


Horn Col
As you approach Horn Col, you’ll quickly see that it’s not quite as scary as it looked from back at Pterodactyl Pass.
Below Horn Col on the west (the side you’re approaching from if you’re following along here) is Lonely Lake. We passed Lonely Lake on the north side, giving it a fairly large berth (we probably could have stayed tighter). As we got closer to Horn Col, we gradually turned south before gaining the col (still topped with a bit of snow).
The east of Horn Col is not at all intimidating. You can see your next destination across the way directly west. It’s the low point, down the ridge from Copper Mine Peak. This is not, however, Copper Mine Pass. Copper Mine Pass is on the other side of Copper Mine Peak. You reach the pass after gaining this low point in the ridge and following a use trail around the back (a trail that I would not suggest doing if it is under snow as it is a steep traverse).
Simply contour around, staying high if you can (whatever you lose you’ll just have to climb back up), as you cross the Elizabeth Pass Trail (we didn’t see it since it was under snow). We had a fair amount of snow through here which made for some frustrating post-holing (it was also the afternoon when we crossed this section).


Copper Mine Pass
When you reach the low point in the ridge that you could see from Horn Col, you will want to look for the (fairly obvious) use trail heading up the spine of (and around the south side of) the ridge. You can pick up this use trail as you approach this low point from the west (after crossing north of the tarn just below).
We had thought this was Copper Mine Pass, but it is not. Copper Mine Pass, from this side, isn’t really what you think of as a pass in the traditional sense. You aren’t coming up one side and then going straight over the other side. You instead climb up the ridge (following the use trail) to what’s basically a notch, and then you drop down from the pass.
The pass itself is more a break in the rocks than anything, and it isn’t particularly identifiable coming from this direction. According to the map, the use trail goes over it, but after passing south of Copper Mine Peak (and tagging it quickly), we lost the use trail. The pass is located just east of Copper Mine Peak. It’s a bit slow going just below the pass, but once you clear the steepest talus and scree, the walking gets easier as you descend into Cloud Canyon.
We dropped north/northwest from the pass (glissading at points) until around 11,200 ft / 3,414 m when we contoured north around a creek and began making our way east into the canyon below. At times, we managed to find a use trail and even some cairns, but they always seemed to disappear after a few switchbacks.


Cloud Canyon
The descent into Cloud Canyon relaxes as you get further down from Copper Mine Pass.
Once you’re down into the canyon proper, the walking is easy. You might get your feet wet as it’s a bit marshy in places, but we managed to stay dry. We stayed west of the creek until crossing at around 9,400 ft / 2,865 m. The terrain got progressively more brush and boulder-filled as we ventured further down (we stuck to the boulders and had minimal bushwhacking).
At 9,050 ft / 2,758 m, the terrain flattens out and it’s again (relatively) easy walking. Eventually, you’ll pick up a trail that leads past a couple of (locked) bear boxes before intersecting the Colby Pass Trail south of Shortys Cabin (which is marked on some maps but we did not venture off-route to investigate). There’s acceptable camping to be found in this flat section of the canyon as well (we camped a little way south of the junction for the Colby Pass Trail).


Making a Loop
If you’re interested in hiking only Section 1 of the Kings Canyon High Basin Route, the easiest way to turn this section into a loop is to continue north once hitting the Colby Pass Trail. Continue on this trail, following the Roaring River, for 6.5 mi / 10.5 km, passing Big Wet Meadow and Cement Table Meadow, before crossing the Elizabeth Pass Trail.
Continue following the Sugarloaf Valley Trail west along the Roaring River to the Sugarloaf Entrance Trail until reaching Camanche Meadow. Turn south here and follow the Belle Canyon Comanche Cutoff until reaching the Silliman Pass North Trail at Sugarloaf Creek.
Take this trail Over Silliman Pass and continue on the Silliman Pass South Trail, continuing south at the junction with the Jo Pass Trail. Continue over Cahoan Gap before hitting Silliman Creek where you departed the trail at the start of Section 1. Follow the trail the rest of the way out to Lodgepole.
The distance from the end of Section 1 back to Lodgepole via the route described above is approximately 28.15 mi / 45.3 km.
Note: I have not hiked this loop back to Lodgepole and have gleaned the above description from maps. It all appears to follow established trails, but I cannot speak to their level of maintenance. I encourage you to check with the park’s backcountry office (where you got your permit) for more information regarding the status of these trails.
KCHBR Section 1 Map
Conclusion
The first section of the Kings Canyon High Basin Route is an excellent introduction to the route.
I think finding and descending from Copper Mine Pass was the most challenging part of the route (although far less challenging than what’s to come). You’re above treeline from the time you leave Silliman Lake until dropping into Cloud Canyon, so plan accordingly if thunderstorms are in the forecast.
The only on-trail miles are at the start of the section and once you depart the Silliman Pass South Trail, you’re traveling cross-country for the remainder of the section (with the exception of a few use trails). However, there are places you could bail from the route (via the Elizabeth Pass Trail or by dropping south from the divide toward Pear Lake).
Hiked this section of the route? Questions about this section? Comments on this post? Drop a comment below and let me know!
KCHBR Sections


are you hiking these in one day?
this one and this:
https://www.halfwayanywhere.com/trails/kings-canyon-high-basin-route/kchbr-section-2/
Thanks for the great site.
We did the entirety of the route described on the site in eight days/seven nights. On the first day, we hiked only a short distance – to Silliman Lake. On the second day, we hiked down into Cloud Canyon and camped there. On the third day, we made it just past Lake Reflection.